How versatile are the compression abilities of Ableton Live for various music genres?
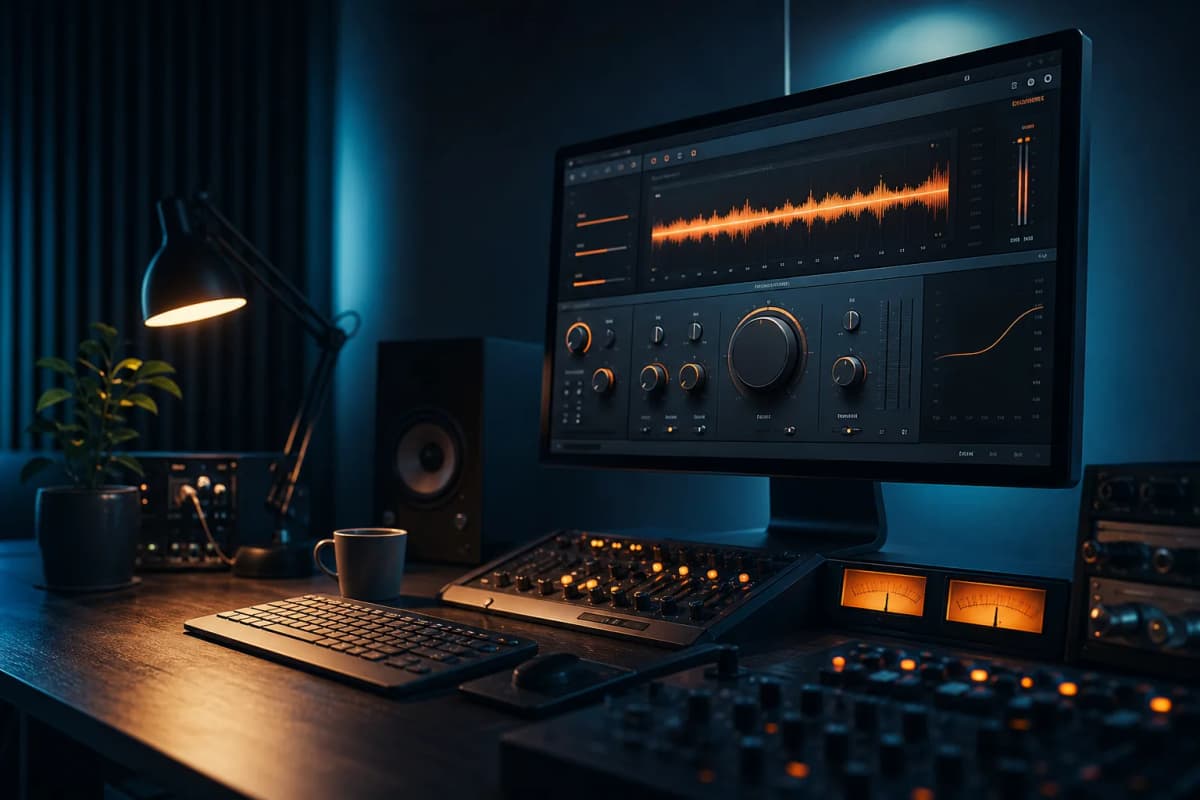
Ableton Live offers some of the most flexible signal processing and mixing capabilities. Among its versatile set of tools is the essential dynamics processor, the compressor. Understanding how to use it can vastly improve your mixes and productions. Here are 12 effective techniques for using compression in Ableton Live.
1. Varying Attack Times
By adjusting the attack time, you control how quickly the compressor starts reducing the volume after the signal exceeds threshold. Faster attack times can be used for limiting transient peaks, while slower ones allow more of the initial signal to pass through before gain reduction begins.
2. Sidechain Compression
This technique involves routing a secondary signal into the compressor’s sidechain input, causing it to compress based on the level of the external sound source. Sidechain compression is commonly used for ‘ducking’ a mix element to make room for another, such as a kick and bassline.
3. Peak & RMS Modes
Ableton Live’s compressor offers Peak and RMS modes. In Peak mode, the compressor responds to short, transient levels. In RMS mode, it responds to the average level of the input signal. Experiment with these modes for nuanced control of your dynamics.
4. Upward Compression
By inverting the range parameter, Ableton’s compressor can be used for upward compression. This brings quieter sounds up in level rather than limiting peak volumes. It is a creative tool for enhancing the body of a sound or managing parts with a wide dynamic range.
5. Serial Compression
Using multiple compressors in series allows for gentle gain reduction at different stages of the signal chain. With this method, each compressor does less work, resulting in a more transparent dynamic control.
6. Parallel Compression
Parallel compression allows you to mix together an uncompressed and compressed version of the same signal, helping to maintain dynamic range while increasing the overall level of the sound. It can add ‘punch’ to drums or density to a mix without reducing peaks too much.
7. Using the Knee Control
The knee control changes how gradually or abruptly compression begins when the threshold is exceeded. A hard knee applies sharper compression to signals over the threshold, while a soft knee results in a gentler, more gradual gain reduction.
8. Frequency Selective Compression
A lesser-known feature of Ableton Live’s compressor is the ability to apply compression to specific frequency bands. This frequency-selective compression (also known as multiband compression) lets you control the dynamics of different parts of the audio spectrum individually.
9. Make-Up Gain
After compression, make-up gain is used to bring the signal back up to its original (or desired) level. Use this control wisely to avoid unintentional clipping or distortion.
10. Limiting
Ableton’s compressor can also function as a limiter with the right settings. By setting a high ratio (above 10:1) and low attack time, the compressor acts as a brick wall limiter, not allowing any signals over the threshold.
11. Use Compression in Moderation
Like any powerful tool, overuse of compression can reduce dynamic range and create an unnatural listening experience. Use it sparingly, and allow for some dynamics to give your mix life and breath.
12. Gain Reduction Visualization
Last but not least, utilize the gain reduction meter in Ableton’s compressor. This visual aid helps you see exactly when and how much the compressor is acting on your signal, allowing for better decisions with your settings.