
12 Recording Methods for Cubase
How do the 12 recording methods for Cubase improve the quality of the music produced
Cubase has been a powerful tool for artists, producers, engineers and music lovers all over the globe. With its phenomenal recording capabilities, it has pushed the boundaries of what is possible in a digital audio workstation. If you’ve recently picked up Cubase or you’ve been a long-time user, there are certain recording techniques you must be aware of. Here, we bring you 12 essential recording methods for Cubase that will help elevate your music to new levels.
1. Layering
Think of your track as a painting. Layering adds fullness, dimension, and sophistication to your sonic picture. You can layer multiple instances of the same instrument recording to play back simultaneously or different parts of a song to create rich, complex sounds.
2. MIDI Mapping
This technology allows for better connection between your MIDI controller and Cubase. It also gives you better control over your DAW and improves your workflow. Create custom MIDI maps or use factory made presets for your hardware.
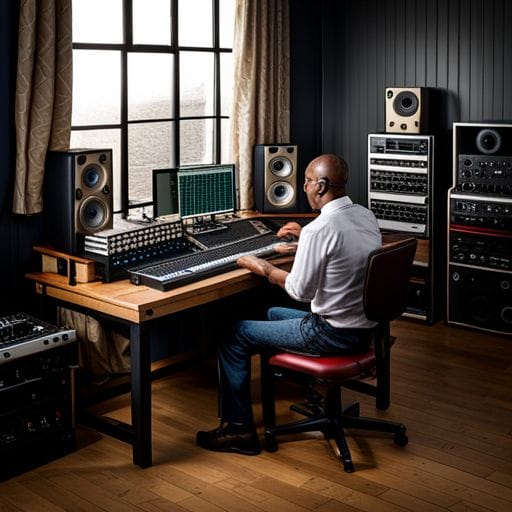
3. Microphone Placement
The placement of the microphone during a recording session can dramatically change the sound. Experiment with different placements and find the one that suits your recording needs better.
4. Use of Virtual Studio Technology (VST) Instruments
VSTs mimic musical instruments and help you create a wider variety of sounds. Using VSTs can also be a cost-effective way to produce high-quality music without the need for additional equipment.
5. Preamp Adjustment
Preamp’s roles in recording are often overlooked. However, they can significantly improve the quality of your recordings. Adjusting the preamp appropriately will result in a warm and professional sound.
6. Arpeggios
Arpeggios are a sequence of notes which create a chord when played consecutively, giving your production a melodic and harmonic edge. Cubase is perfectly adept at creating complex arpeggios to accentuate your tracks.
7. Drum Replacement
If you’re unhappy with the original drum sound, Cubase offers high-quality drum samples that you can use to replace or supplement your original recording.
8. EQing
EQing is used to adjust the balance of certain frequencies in audio. Knowing how to EQ is imperative for producing professional-quality music in any type of musical style.
9. Using the “Control Room”
The ‘Control Room’ in Cubase is like your personal sound tech. With this feature, you can manage multiple headphone mixes, adjust monitor levels, and keep a tab on outs routing.
10. Automation
Automation in Cubase allows you to create more complex songs by adding changes to tracks or effects over time. With automation, you can evolve your track dynamically, creating unique and captivating blends of sounds.
11. Use of Beat Designer
Beat Designer is a special feature of Cubase that allows you to create custom beats by dragging and dropping into your MIDI track.
12. Quantizing
Quantizing corrects timing errors in your MIDI and audio tracks. This feature keeps your beats and hits in time and works well for perfecting complex drum tracks.
With these 12 recording methods, you have the tools to unlock the full potential of Cubase, transforming your music ideas into aural reality. Start experimenting and bring your unique musical vision to life.