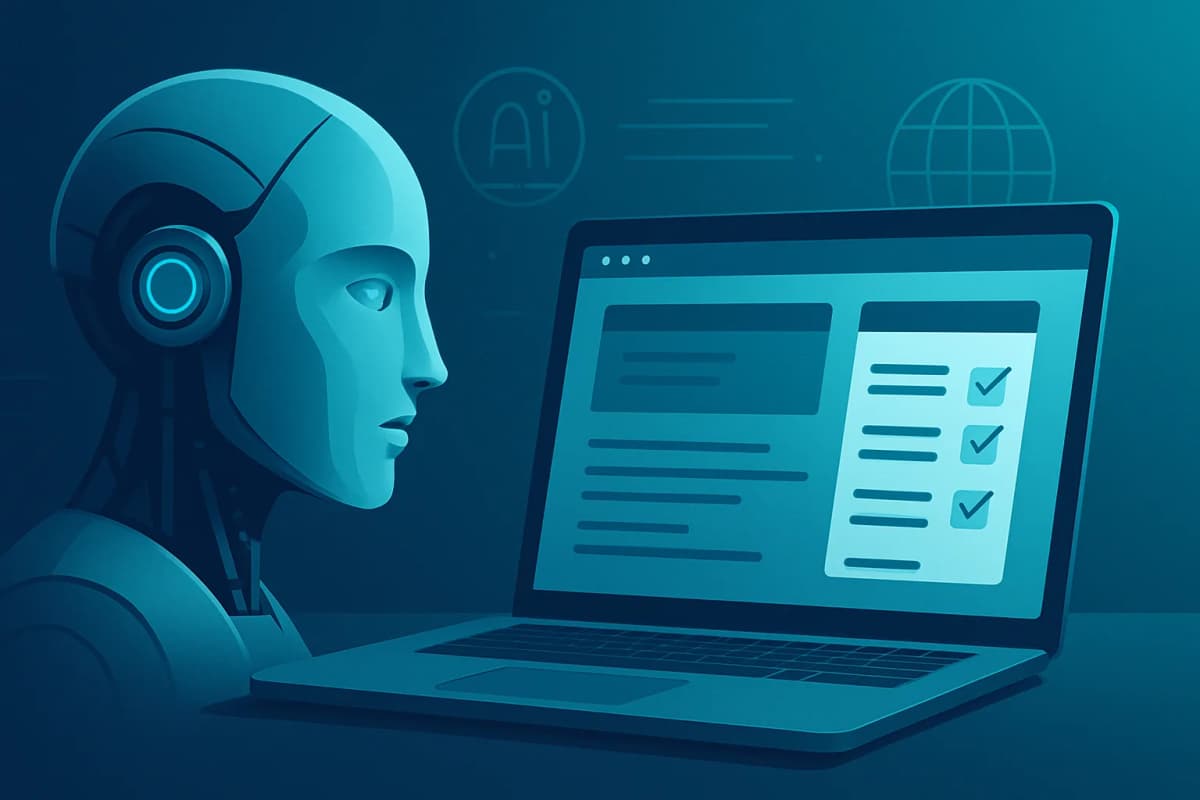
What if your iPhone could talk to your own MCP servers anywhere? That is exactly what I built with MCP iOS app MCP Connect, a native mobile client for the Model Context Protocol. In this article, I explain how I designed, shipped, and deployed it, and why this approach matters if you want real AI tools on mobile.
What is MCP Connect?
MCP Connect is my MCP iOS app for connecting to MCP servers over HTTP, browsing tools, and chatting with AI on the go. I built it in Swift and SwiftUI so it feels native, fast, and stable on iPhone.
The app lets you:
I wanted the app to feel premium, not like a wrapper. So I designed it with a dark cinema style, glassmorphism, spring animations, and haptic feedback. That design choice matters because mobile AI tools need to feel quick and clear, especially when users switch between chats and servers.
Why I built an MCP iOS app
I built this MCP iOS app because I wanted direct access to my own tools from my phone. Desktop-only workflows slow you down when you are away from your desk. On iPhone, I wanted the same control I already had in the browser and on my Mac.
In my experience building products in Gothenburg, the best mobile apps solve a painful, narrow problem well. MCP Connect does that for me. It gives me secure access to my MCP servers, and it does it without adding another complicated layer.
This also fits the direction of the Model Context Protocol itself. Anthropic’s MCP spec is built around a clean client-server model, which makes it a strong fit for mobile apps that need structured tool access. I kept the implementation aligned with that idea so the app stays maintainable as the protocol evolves.
The user problem I solved
Most AI tools still assume you sit at a desktop. That breaks when you need to check a server, trigger a tool, or inspect a result while travelling. With MCP Connect, I reduced that friction.
The result is simple: I can open the app, select a server, and interact with my tools in seconds. That speed is the whole point of the MCP iOS app.
The tech stack behind the MCP iOS app
I kept the stack focused and modern. I did not want a bloated architecture or unnecessary dependencies.
| Layer | Technology |
|---|---|
| --- | --- |
| Platform | iOS 17+, Swift 6, SwiftUI |
| Architecture | MVVM + Coordinators |
| Backend | Supabase (Auth, PostgreSQL, Realtime) |
| MCP Transport | JSON-RPC over HTTP |
| Persistence | SwiftData |
| IAP | StoreKit 2 |
| i18n | String Catalogs (EN + SV) |
| Deployment | Xcode + XcodeGen |
This stack gave me a strong base for the MCP iOS app. SwiftUI handled the interface well, SwiftData supported offline-first storage, and Supabase gave me authentication and sync without extra backend overhead.
I also used familiar production tools like Keychain for secrets and StoreKit 2 for subscriptions. That kept the app focused on product quality instead of infrastructure noise.
Step 1: I designed the system first
I always start with the design system, because it saves time later. In this project, I built the tokens and shared components before I wrote feature code.
The Dark Cinema palette uses deep blacks, subtle elevated surfaces, and an indigo accent. Every surface uses a glassmorphism treatment with `.ultraThinMaterial` and a thin border so the UI feels layered but not heavy.
The system includes:
I built reusable components like `GlassCard`, `AccentButton`, `StatusBadge`, `ShimmerLoader`, and `GlassTextField`. That made the MCP iOS app easier to scale because new screens inherited the same visual language.
Step 2: I separated models from persistence
I split domain models from SwiftData persistence models. This kept the business logic clean and testable.
The main models are:
That separation mattered more than it sounds. It gave me room to change storage details without rewriting the app logic. For a MCP iOS app, that kind of boundary makes future features easier to ship.
Security decision: Keychain only for API keys
I made one rule that I would not break: API keys never touch Supabase. I store only an `apiKeyRef` in the database, while the actual key lives in the iOS Keychain.
That means a database breach does not expose credentials. The tradeoff is that keys do not sync automatically across devices. Users must re-enter them on a new phone, but that takes seconds and removes a serious security risk.
Step 3: I built the MCP client
The client uses JSON-RPC over HTTP, which matches the Streamable HTTP transport in the MCP specification. Each request goes out as a standard HTTP POST with a JSON-RPC body.
The app supports four core operations:
I load authorization tokens from the Keychain at request time. That keeps the MCP iOS app secure and avoids storing secrets in memory longer than needed.
I tested this against my own servers until the request flow felt stable under real use. The result was predictable latency and a much better mobile experience than I expected at the start.
Step 4: I wired up Supabase
I used Supabase for auth and sync because it gives me a fast path to production. The backend has four tables:
Every table has Row Level Security. That means users can only access their own records. I also added a database trigger that creates a profile automatically after signup.
Auth supports Sign in with Apple and email/password. That gave me a clean sign-up flow without forcing users into one login method. For a MCP iOS app, that flexibility helps adoption.
Step 5: I built the main features
The app has three core surfaces: chat, server management, and settings. I kept each one focused so the experience stays fast on a phone.
Chat interface
The chat uses a state machine: `idle` → `sending` → `streaming` → `toolCalling` → `idle`. Tool calls appear inline as expandable cards with the tool name, arguments, result, and execution time.
That UI matters because it helps users trust what the AI is doing. They can see each step instead of guessing.
Server management
Users can add, edit, and delete servers. I added URL validation, swipe-to-delete, and confirmation dialogs so server changes feel safe and deliberate.
Each server detail view shows health data, latency charts with Swift Charts, and a Tool Explorer that lists the available tools and parameter schemas. That made the MCP iOS app more useful than a simple chat frontend.
Navigation and settings
I used a three-tab layout with `NavigationStack` and type-safe routes. Deep linking works through the `mcpconnect://` URL scheme.
Settings include:
Step 6: I deployed the MCP server endpoint
The hardest part was making a stdio-based MCP server reachable from mobile. My personal site MCP server originally ran as a local Node.js process with `StdioServerTransport`.
To expose it to the MCP iOS app, I added an API route to my Next.js site on Vercel. The route uses the MCP SDK’s `InMemoryTransport` to bridge JSON-RPC requests to the local server implementation.
Each request creates a fresh server/client pair with `createLinkedPair()`, runs the operation, and returns the response. That approach fits serverless infrastructure well because it avoids long-lived connections.
The endpoint lives at `https://uygarduzgun.com/api/mcp`, and it exposes 15 tools that I can call from any MCP client. This setup turned a local tool server into a mobile-ready service without redesigning the whole backend.
Why this architecture works
In practice, it works because each request is stateless and isolated. That reduces operational risk and makes scaling much easier. If you build an MCP iOS app, this pattern is worth considering for serverless deployment.
Step 7: IAP and monetization
I used StoreKit 2 for a simple free/pro model. The free tier is usable, but the Pro tier removes the limits that power users hit fastest.
| Feature | Free | Pro ($4.99/mo) |
|---|---|---|
| --- | ---: | ---: |
| Servers | 2 | Unlimited |
| Conversations | 50 | Unlimited |
| History | 30 days | Unlimited |
| Themes | Dark + Light | + custom accent |
| Search | Current chat | Full-text all |
I like this model because it does not punish casual users. It gives enough value up front, then expands naturally when the app becomes part of a real workflow.
Project stats and results
The build ended up larger than I expected, but the structure stayed clean.
Those numbers matter because they show the app is production-grade, not a prototype. I wanted a real MCP iOS app, and I shipped one.
Images I would add for this article
If I publish this post, I would include screenshots with descriptive alt text to help readers and improve SEO.
Key takeaways
MCP Connect shows that the MCP iOS app idea is practical, secure, and ready for real use. If you are building mobile AI tools, this architecture can save you time and reduce risk. Read the related post on audio signal levels explained→ or leave a comment if you want me to break down the server code next.