How to Build Your Own DIY Acoustic Panels
🎵 Music
Music
Production

How to Build Your Own DIY Acoustic Panels

⁤Can PAA technology be⁢ incorporated in DIY acoustic panels for better‍ sound ⁣absorption? Are ​you tired of the excessive echo in your home studio or media room? A ​well-placed acoustic panel can dramatically ‍reduce unwanted ​noise, improve sound clarity,‌ and enhance your listening⁣ experience. I

Uygar DuzgunUUygar Duzgun
Jul 20, 2023
Updated Jul 4, 2026
2 min read

⁤Can PAA technology be⁢ incorporated in DIY acoustic panels for better‍ sound ⁣absorption?

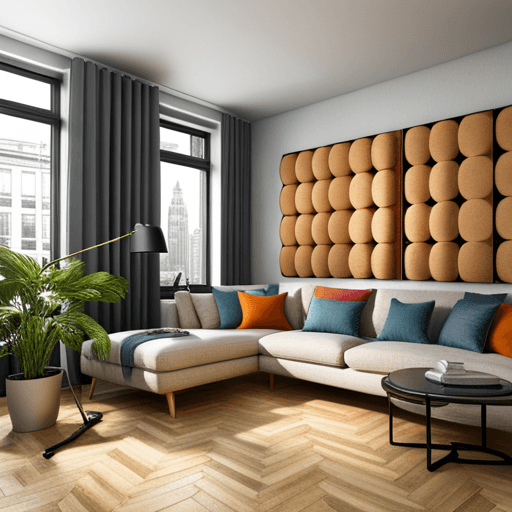
Are ​you tired of the excessive echo in your home studio or media room? A ​well-placed acoustic panel can dramatically ‍reduce unwanted ​noise, improve sound clarity,‌ and enhance your listening⁣ experience. Instead of shelling out hundreds of dollars for prefabricated⁤ options, why not undertake a cost-effective DIY project, tailored specifically to your‌ needs and space? Below, we ⁤break down the steps ​for creating your own acoustic panels.

Materials Needed

Wood (We recommend lightweight, sturdy options such as pine or poplar.)
Sprayed adhesive
Acoustic foam or mineral ⁢wool insulation
Acoustic fabric (Avoid ​stretchable material for best results.)
Staple gun⁤ and‍ staples
Saw or power cutter
Measuring ⁤tape
Screwdriver and screws (for wall mounting)

Step By Step Guide

Step 1: Frame Construction

Begin by cutting your wood into four⁤ pieces ‍to construct a square ⁤or⁢ rectangular frame. The frame’s size should ideally coincide with your acoustic foam ‍or‍ insulation dimensions to minimize tweaks‍ later ‌on.

Step 2: ‍Assemble the Frame

Use ‍screws or nails to secure the corners of your frame, ensuring they’re set at right angles⁤ for stability.

Step 3: Insert the ‍Insulation

Spray the inner rim lightly with adhesive ⁢and carefully fit in the acoustic ⁤foam or ‍insulation. Ensure there’s no‍ bulging or contraction occurring as it may lessen the panel’s ⁣performance.

Step 4: Add Covering

Lay your frame, ​insulating side down, onto the fabric. Ensure there’s enough fabric to wrap around the sides. Use a ‍staple gun to secure the fabric onto the back of the frame—take‍ care to distribute the staples evenly for a professional​ look. Trim any excess ‍fabric for a ​clean finish.

Step 5: Hang Your ‌Panels

Once your panels are complete, decide where to hang them. Keep in mind that placing ⁤them in corners or hard surfaces ⁣can drastically reduce echo.

Conclusion

Building your own DIY acoustic panels can be a‌ rewarding⁣ project that not only enhances your⁢ sound experience ⁢but also adds a personal touch to your room décor. Remember, the key‍ to ⁤success lies in precision, right material choices, and patient execution. Happy DIY-ing!
FAQ

What material works best for DIY acoustic panels?+
Mineral wool is often preferred for strong sound absorption, but acoustic foam can also work for lighter panels.
Where should I place acoustic panels for the best results?+
Place them at first reflection points, on hard walls, and in corners to help reduce echo and improve clarity.

Recommended for you

What Is Phantom Power And How Does It Work With Microphones?

What Is Phantom Power And How Does It Work With Microphones?

How does Phantom Power work with microphones? The world of audio technology is loaded with a diverse range of devices, gadgets, and terms that may seem extremely foreign to the uninitiated. One of these terms that often pops up and usually causes confusion among the unversed is “Phantom Power”. This

3 min read
The Difference Between Open-Back and Closed-Back Headphones

The Difference Between Open-Back and Closed-Back Headphones

Are open backs better for your ears? Open-back headphones have better sound quality It is almost always the case, that users wanting the best sound quality from their headphones should be looking at open-back headphones. This rule has some exceptions, but most audiophile-grade headphones are well-ve

2 min read
Audio Signal Levels: Mic, Instrument, Line, Speaker

Audio Signal Levels: Mic, Instrument, Line, Speaker

Learn audio signal levels the practical way: mic, instrument, line, and speaker. Clean gain staging, fewer mistakes, better mixes.

6 min read