
What are some techniques for filming myself playing the guitar for PAA?
#
Guitar is an incredibly versatile instrument, and countless people use it to express themselves and share their creativity. If you’ve been honing your craft and spending countless hours practicing your favorite songs, there might be a point where you want to record yourself playing. Be it for a personal archive, to share with friends and family, or even to upload on social media, recording yourself playing guitar can be a delightfully gratifying experience. Here are some steps to guide you through this process.
Equipment Needed
Setting up the Equipment
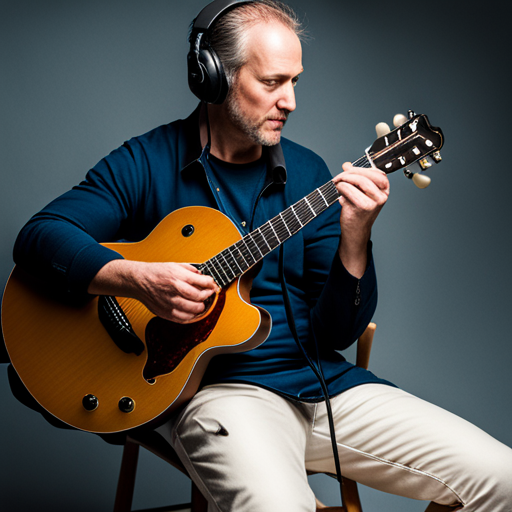
Once you have all the needed equipment ready, it’s time to set them up. Start by finding a quiet, well-lit place for recording. Position your camera or smartphone in a way that it captures you and your guitar, ensuring the entire fretboard is visible. Place the microphone close to the guitar, ideally where the neck meets the body. If using a pick-up microphone connected to an amp, ensure the system is set up without any feedback or noise.
Recording
When everything is ready, start by doing a few test recordings. This will help you adjust the camera angle, microphone position, and lighting. Once you are happy with the set-up, start recording your performance. Remember, it’s okay to make mistakes. You can always record multiple takes and choose the best one.
Editing
After recording the video, use the software to edit and mix the track. There are many tutorials online to use editing software. Try to balance the audio levels, eliminate background noise, and adjust the video quality to the best of your ability.
Remember, the ultimate goal is to showcase your talent. So, don’t stress too much about getting the perfect video or sound quality. The more you record, the better you’ll get at it. So, pick up your guitar, hit the record button, and let your talent shine!