
Can you explain the process of building a DIY vocal booth on a budget?
#
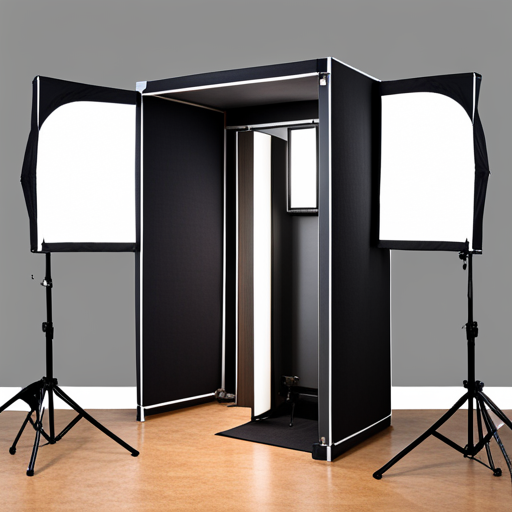
In the world of music and recording, the quality of sound is paramount. For vocal artists, podcasters, voice-over artists, and even aspiring musicians, a dedicated vocal booth can significantly enhance sound quality. However, a professional booth might make a gaping hole in your pocket. The good news is, you can build a DIY vocal booth for under $85 at home. Let’s walk you through the process.
Materials Required
Step-by-Step Guide
1. Frame Construction
Building a stable frame is the first step. This can be done using PVC pipes and connectors. Based on the desired dimensions of your vocal booth, buy enough pipes and connectors. A basic square shape can suffice for the booth’s frame. Make sure your frame is sturdy and can hold the weight of the moving blankets.
2. Adding the Soundproofing Material
Moving blankets are a great and inexpensive option for soundproofing. Use duct tape or adhesive spray to attach the moving blankets to the PVC frame. Ensure the entire frame is covered. If you want to create a door for your vocal booth, leave one side of the frame partially covered.
3. Securing the Booth
Allow the adhesive to dry before moving the booth. If you need to add extra stability or secure the blanket’s edges, use large binder clips. You have now created a basic, functional DIY vocal booth!
Tips to Enhance Your DIY Vocal Booth
Conclusion
Building a DIY vocal booth can not only save you a lot of money but can also provide you the flexibility to customize it according to your preferences. For under $85, you can have a functional vocal booth that caters to all your recording needs. With some creativity and elbow grease, your home recordings can sound professional and high-quality!